To change the auto lock on your Mini Cooper, begin by starting the vehicle and accessing the settings menu using the BC button. Find the key symbol for auto lock settings, then select between on, off, or timed auto lock modes. If necessary, adjust the auto lock doors speed and save the changes by holding the BC button. Make sure that the configurations align with your preferences for peak performance, security, and convenience. Further customization and maintenance guidelines can help you fully maximize the auto lock feature on your Mini Cooper.
Turning on the Car
To start the car and access the settings menu for changing the auto lock on your Mini Cooper, make sure the vehicle is running. Once the Mini Cooper is running, locate the BC button on the dashboard. This button is essential for moving through the various menu options on the display. Press the BC button to enter the settings menu.
Within the settings menu, use the BC button to browse through the different options available. Keep an eye out for the key symbol that represents the auto locking feature. Once you have found the auto lock setting, select it by pressing the BC button.
After selecting the auto lock option, press and hold the BC button to save the changes you have made. This action confirms your desired auto lock setting. To make sure that the auto lock feature is activated, take the Mini Cooper for a drive and observe if the doors lock automatically at the specified speed.
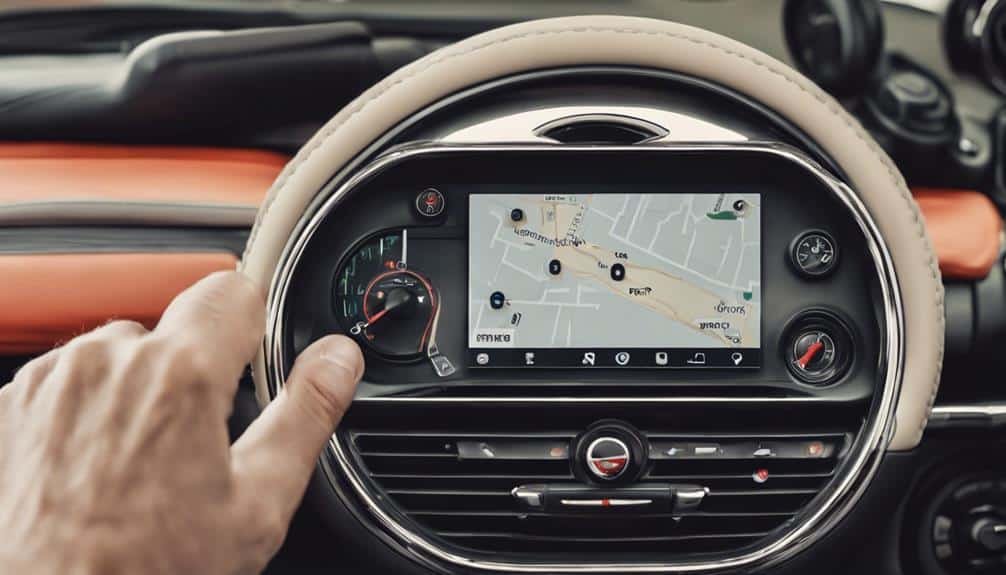
Locating the Display
To locate the display for adjusting the auto lock settings on your Mini Cooper, start by pressing the BC button on the dashboard.
Look for the 'sets many' option on the screen to access the menu for changing the auto lock feature.
Use the BC button to navigate through the options until you identify the key symbol for the auto lock setting.
Display Location Guide
Naturally, locate the display for changing the auto lock settings on your Mini Cooper within the instrument cluster.
The first thing you should do is sit in the driver's seat and insert the key into the ignition. Turn the key to the second release position without starting the engine.
Next, look at the instrument cluster where the display is located. You'll see various icons and information displayed. Use the BC button on the steering wheel to navigate through the menu options.
Look for icons resembling a key with a tickler for auto lock door options and a lock sign with an egg for setting the speed limit. Follow the on-screen prompts to customize your auto lock settings as desired.
Identifying Screen Position
When identifying the screen position for changing auto lock settings on your Mini Cooper, locate the display within the instrument cluster. Look for icons like a key with a tick or a lock symbol with an egg to identify the auto lock feature.
Use the BC button to navigate the menu options and find the auto lock doors setting. Pay close attention to the symbols and instructions on the display to make sure you're adjusting the correct feature.
After changing the setting, press and hold the BC button to save it, then return to the home screen. This guarantees that the changes you made to the auto lock settings on your Mini Cooper are properly saved and activated.
Accessing Auto Lock Settings
Locate the display on your Mini Cooper by turning on the car and pressing the button until it shows 'sets many.' Use the BC button to navigate to the key symbol with the tickler, indicating the auto lock feature. Toggle between on, off, or timed auto lock modes by pressing the BC button. Adjust the auto lock doors speed by finding the lock sign with an egg symbol and setting the speed limit to 'fun,' 'timed on,' or off. Save the settings by holding the BC button, returning to the home screen, and ensuring the auto lock doors feature is active before driving.
| Menu Options | Description | How to Access |
|---|---|---|
| Auto Lock Feature | Key symbol with tickler | Navigate using BC button |
| Doors Speed | Lock sign with egg symbol | Adjust settings with BC button |
Accessing the Menu
To access the auto lock settings menu on your Mini Cooper, follow these steps:
- Turn on the car and press the button until 'sets many' appears.
- Once 'sets many' is displayed, hold down the BC button to enter the menu.
- Cycle through the options using the BC button until you see the key symbol with the tickler, indicating the auto lock settings.
- Use the BC button to toggle between the different auto lock options such as on, off, or timed settings for the doors.
- To set the auto lock doors speed, locate the lock symbol with an egg and choose from the options 'fun,' 'timed on,' or off.
- After adjusting the settings, save them by holding the BC button.
- Verify that the changes are saved by returning to the home screen.
This sequence ensures that the auto lock feature on your Mini Cooper is correctly configured to your preferences.
Setting Auto Lock Options
To set your auto lock options on your Mini Cooper, you need to access the settings menu on the vehicle's display. Use the BC button to scroll through the options until you find the key symbol to adjust the auto lock feature.
Choose between 'on,' 'off,' or 'timed on' based on your preference for auto lock activation.
Auto Lock Activation
Navigate the menu on your Mini Cooper by pressing and holding the BC button until 'sets many' is displayed to adjust the auto lock activation settings. Click the BC button to find the key symbol with the auto lock settings. Toggle between on, off, or timed on using the BC button to adjust the auto lock activation.
Choose 'fun' for full activation, 'timed on,' or off to set the speed limit for auto lock doors. Save your changes by holding the BC button, returning to the home screen, and making sure the auto lock doors feature is active before driving.
Adjusting Lock Timing
When adjusting the lock timing on your Mini Cooper to set the auto lock options, access the menu by pressing and holding the BC button. Follow these steps to adjust the auto lock timing:
- Cycle through the menu options until you find the key with a tickler symbol to toggle between on, off, or timed auto lock.
- Set the speed limit for auto locking by selecting 'fun' for full on, 'timed on,' or off using the BC button.
- Use the button below the clock to adjust the speed limit setting for auto lock doors.
Ensure to save the auto lock doors setting by holding the BC button and make sure it activates after reaching 5 mph for convenience and safety.
Adjusting Speed Limit
Access the speed limit adjustment menu on your Mini Cooper by pressing the BC button and cycling through the options until you find the setting with a critical symbol and an egg icon.
Once you've located the speed limit setting, use the BC button to choose between 'fun' for full activation, 'timed on,' or 'off' depending on your preference.
The speed limit setting determines the speed at which the auto lock doors engage while driving.
To save the speed limit setting, hold down the BC button until you see the changes take effect, then release the button. You'll then return to the home screen with the newly adjusted speed limit setting in place.
Adjusting the speed limit on your Mini Cooper is essential for customizing the auto lock feature to suit your driving habits and preferences.
Make sure to select the appropriate setting that aligns with your desired level of security and convenience.
Saving the Settings
To save the auto lock doors settings on your Mini Cooper, make sure you hold down the BC button after selecting your desired options. Follow these steps to guarantee your settings are saved correctly:
- Select Settings:
Use the controls to navigate to the auto lock doors settings on your Mini Cooper's display.
- Adjust Options:
Choose your preferred auto lock settings, such as speed-based locking, using the available options.
- Save Settings:
Once you have set the desired auto lock configurations, press and hold the BC button until you see a confirmation message on the screen.
After saving the settings, release the BC button to return to the home screen. The changes you made should now be active, determining when the doors will automatically lock based on your chosen parameters. It's important to verify the setup to guarantee that the auto lock feature functions correctly before hitting the road.
Checking and Adjusting Regularly
After saving the auto lock configurations on your Mini Cooper, make sure to regularly check and adjust them to maintain peak functionality and security.
To begin, access the settings menu on your Mini Cooper's display screen. Navigate to the auto lock section to review the current configurations. Verify that the settings align with your preferences for automatic locking and opening.
If any adjustments are needed, follow the prompts on the screen to modify the settings accordingly. It's essential to refer back to the instructional video for guidance on changing the auto lock configurations if you encounter any difficulties.
Promptly address any issues with the auto lock feature to ensure peak performance. By staying proactive and regularly monitoring the auto lock configurations, you can uphold the safety and convenience of your Mini Cooper S r56.
Conclusion
Congratulations! You have successfully adjusted the auto lock settings on your Mini Cooper. Remember, just like fine-tuning a musical instrument, it's important to regularly check and adjust these settings to guarantee your vehicle's security.
Keep your Mini Cooper running smoothly like a well-oiled machine by staying on top of these important details.
Happy driving!
