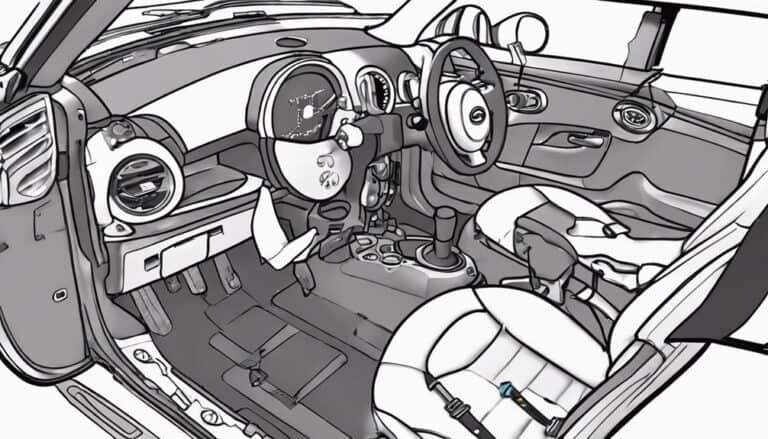
-
Table of Contents
- Introduction
- Step-by-Step Guide to Installing a Mini Cooper Grill Badge
- How to Choose the Right Mini Cooper Grill Badge for Your Car
- The Benefits of Installing a Mini Cooper Grill Badge
- Tips for Installing a Mini Cooper Grill Badge Without Damaging Your Car
- Common Mistakes to Avoid When Installing a Mini Cooper Grill Badge
- Q&A
- Conclusion
Introduction
Installing a Mini Cooper grill badge is a great way to customize your vehicle and show off your style. It is a relatively simple process that can be completed in a few steps. This guide will provide you with the necessary information to install a Mini Cooper grill badge, including the tools and materials you will need, as well as step-by-step instructions. With the right preparation and a bit of patience, you can easily install a Mini Cooper grill badge and give your car a unique look.
Step-by-Step Guide to Installing a Mini Cooper Grill Badge
Step 1: Gather the Necessary Materials
Before you begin, make sure you have all the necessary materials. You will need a Mini Cooper grill badge, a drill, a drill bit, a screwdriver, and a pair of pliers.
Step 2: Remove the Old Badge
Using the screwdriver, remove the old badge from the grill. If the badge is stuck, use the pliers to gently pry it off.
Step 3: Drill Holes
Using the drill and drill bit, drill two holes in the grill where the new badge will be installed. Make sure the holes are the same size as the screws that will be used to attach the badge.
Step 4: Attach the Badge
Using the screws provided with the badge, attach the badge to the grill. Make sure the badge is securely attached.
Step 5: Enjoy Your New Badge
Your Mini Cooper now has a new grill badge! Enjoy your new look and show it off to your friends.
How to Choose the Right Mini Cooper Grill Badge for Your Car
When it comes to customizing your Mini Cooper, one of the most popular options is to add a Mini Cooper grill badge. This badge is a great way to add a unique touch to your car and show off your style. However, with so many different options available, it can be difficult to know which one is right for your car. Here are some tips to help you choose the right Mini Cooper grill badge for your car.
First, consider the size of the badge. Mini Cooper grill badges come in a variety of sizes, so you’ll want to make sure you choose one that fits your car’s grill perfectly. Measure the size of your grill before you shop to ensure you get the right size.
Next, think about the material of the badge. Mini Cooper grill badges are typically made of metal, plastic, or a combination of both. Metal badges are more durable and will last longer, but plastic badges are often more affordable. Consider your budget and the look you’re going for when deciding which material is best for you.
Finally, consider the design of the badge. Mini Cooper grill badges come in a variety of designs, from classic to modern. Choose a design that reflects your style and complements the look of your car.
By following these tips, you can easily find the perfect Mini Cooper grill badge for your car. With the right badge, you can add a unique touch to your car and show off your style.
The Benefits of Installing a Mini Cooper Grill Badge
Installing a Mini Cooper Grill Badge is a great way to add a unique and stylish touch to your vehicle. This badge is a great way to show off your Mini Cooper pride and make your car stand out from the crowd. There are many benefits to installing a Mini Cooper Grill Badge, including increased visibility, improved safety, and a more personalized look.
First, installing a Mini Cooper Grill Badge increases visibility. The badge is highly visible and can be seen from a distance, making it easier for other drivers to identify your car. This can be especially helpful in crowded areas, such as parking lots or busy streets, where it can be difficult to spot your car.
Second, installing a Mini Cooper Grill Badge can improve safety. The badge is highly reflective, making it easier for other drivers to spot your car in low-light conditions. This can help to reduce the risk of accidents, as other drivers will be more likely to see your car in time to avoid a collision.
Finally, installing a Mini Cooper Grill Badge can give your car a more personalized look. The badge is available in a variety of colors and styles, so you can choose one that best suits your car’s look. This can help to make your car stand out from the crowd and give it a unique and stylish touch.
Installing a Mini Cooper Grill Badge is a great way to add a unique and stylish touch to your vehicle. The badge is highly visible, reflective, and available in a variety of colors and styles, making it a great way to show off your Mini Cooper pride and make your car stand out from the crowd. Additionally, the badge can help to improve safety by making your car more visible in low-light conditions. With all these benefits, installing a Mini Cooper Grill Badge is a great way to customize your car and make it truly your own.
Tips for Installing a Mini Cooper Grill Badge Without Damaging Your Car
1. Clean the area around the badge with a soft cloth and a mild detergent. This will help ensure that the adhesive sticks properly.
2. Carefully remove the backing from the adhesive on the back of the badge.
3. Position the badge in the desired location on the grill.
4. Use a soft cloth to press the badge firmly into place.
5. Allow the adhesive to dry for at least 24 hours before driving the car.
6. To ensure that the badge is securely attached, use a small amount of clear silicone sealant around the edges of the badge.
7. To protect the badge from the elements, apply a coat of wax or sealant to the badge.
Following these steps will help ensure that your Mini Cooper grill badge is securely installed without damaging your car.
Common Mistakes to Avoid When Installing a Mini Cooper Grill Badge
1. Not Cleaning the Surface: Before installing a Mini Cooper grill badge, it is important to make sure that the surface is clean and free of dirt, dust, and debris. This will ensure that the badge adheres properly and looks its best.
2. Not Using the Right Adhesive: Different types of adhesives are available for different types of surfaces. Make sure to use the right adhesive for the surface you are working with.
3. Not Allowing Enough Time for the Adhesive to Set: After applying the adhesive, it is important to allow enough time for it to set before installing the badge. This will ensure that the badge is securely attached and will not come off easily.
4. Not Testing the Badge Before Installing: Before installing the badge, it is important to test it to make sure it fits properly and looks good. This will help to avoid any mistakes that may occur during the installation process.
5. Not Taking Care When Installing: When installing the badge, it is important to take care to ensure that it is properly aligned and securely attached. This will help to ensure that the badge looks its best and will last for a long time.
Q&A
1. What tools do I need to install a Mini Cooper grill badge?
You will need a flathead screwdriver, a Phillips head screwdriver, and a pair of needle nose pliers.
2. How do I remove the old badge?
Use the flathead screwdriver to carefully pry the old badge off the grill.
3. How do I attach the new badge?
Use the Phillips head screwdriver to attach the new badge to the grill.
4. Do I need to use any adhesive?
No, the badge should be securely attached with the screws.
5. Is there anything else I should do to ensure the badge is secure?
Yes, use the needle nose pliers to tighten the screws and make sure the badge is firmly attached.
Conclusion
Installing a Mini Cooper grill badge is a relatively simple process that can be completed in a few steps. With the right tools and a bit of patience, you can easily add a unique touch to your Mini Cooper. Whether you’re looking to add a bit of flair to your car or just want to show off your Mini Cooper pride, a Mini Cooper grill badge is a great way to do it.