
Wondering how to unlock the full potential of your Mini Cooper's infotainment system? Discover tricks and tips that will transform your driving experience.

Spice up your Mini Cooper with our top 5 leather seat customizations—from heated options to carbon fiber accents, discover your car's true potential.
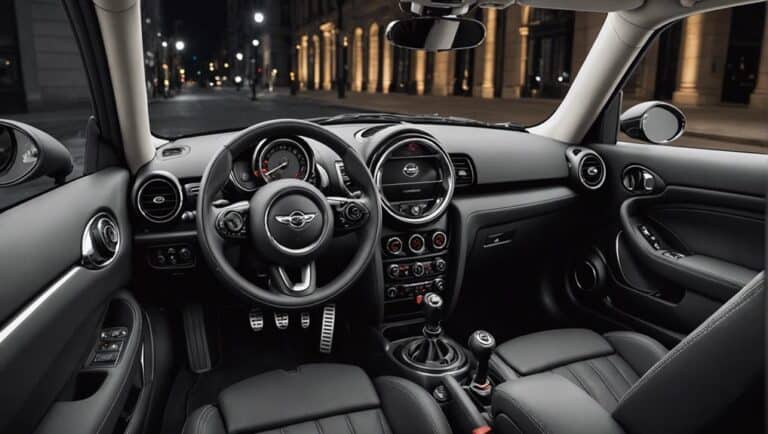
Optimize your Mini Cooper's interior with our guide on top enhancements, and discover how simple changes can dramatically enhance your driving experience...
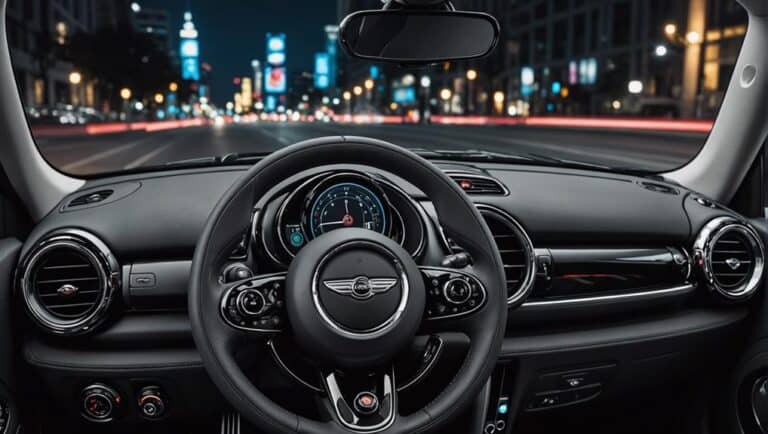
Explore the OLED display, interactive controls, and more in the Mini Cooper's dashboard—discover which top feature will revolutionize your drive.
Interested in boosting your Mini Cooper's diesel engine performance? Discover five essential tips that will transform your ride—read on to learn how!
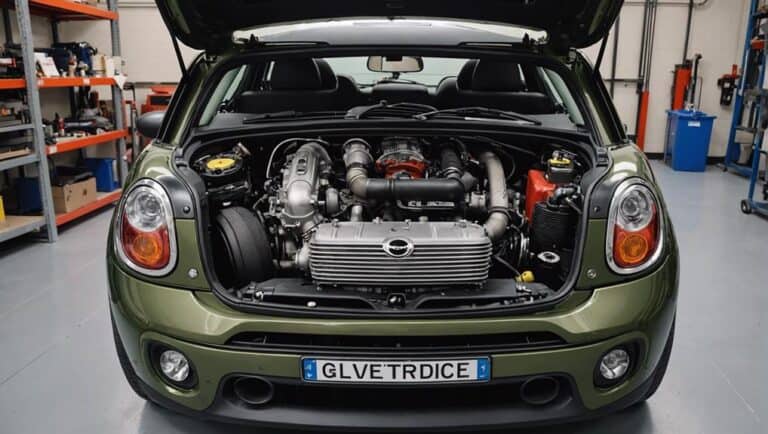
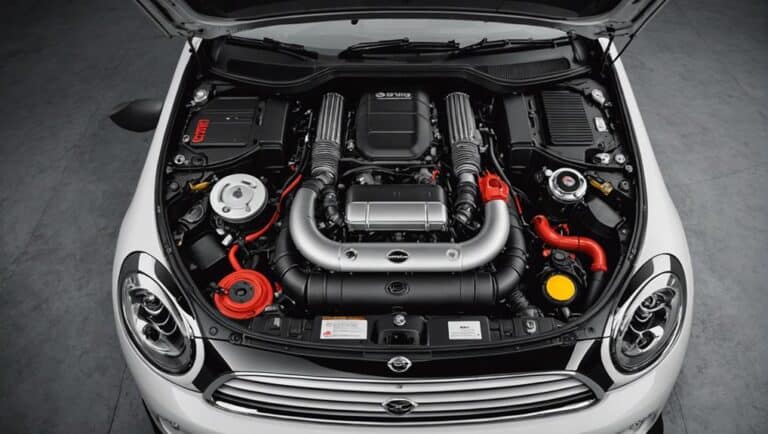
Meet the seven diverse Mini Cooper engine types, each designed for unique driving experiences; discover specs and performance secrets that...
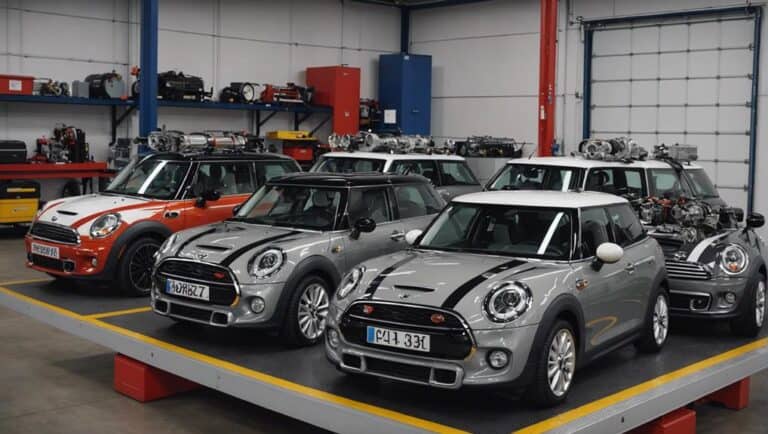
Improve your 2023 Mini Cooper with top engine upgrades for enhanced performance and efficiency; discover the transformative possibilities inside!

Uncover why Mini Cooper's advanced turbocharged engines deliver unmatched reliability and performance—discover what sets them apart.
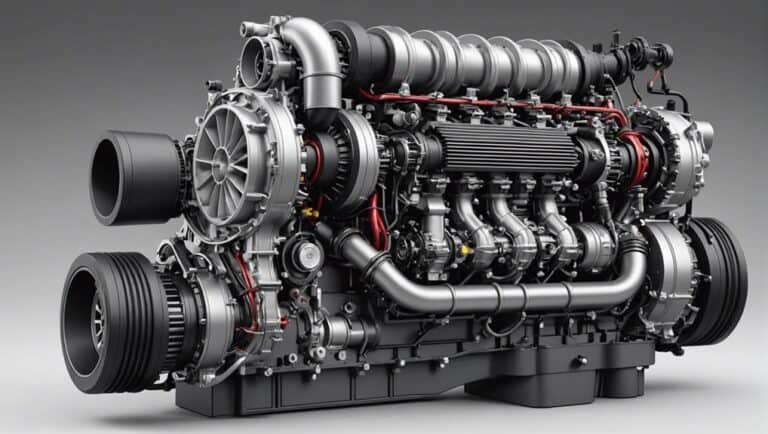
Harness the thrill of Mini Cooper's turbocharged engines; explore how they blend power with efficiency in our full article.