
Uncover top tips for selecting the perfect Mini Cooper Convertible that matches your style and needs; explore more inside!

Fuel efficiency meets style; discover which of the top 5 Mini Cooper variants best suits your lifestyle and keeps curiosity piqued.

Explore our top 10 family-friendly Mini Cooper models, perfect for balancing style with practicality—find out which one suits your family best!
Discover how to expertly remove the footwell module on a Mini Cooper, ensuring a smooth process for...
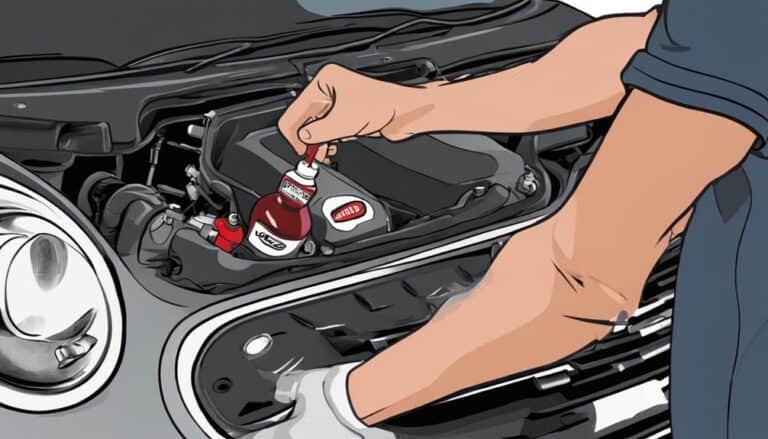
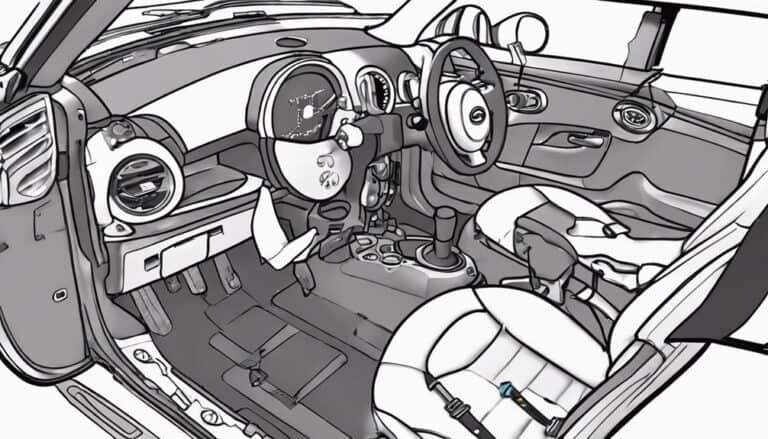
Uncover the ideal transmission fluid for a 2005 Mini Cooper and why choosing correctly is crucial for its performance—read on to find out.

Know the truth about Mini Cooper's reliability - costs, common problems, and maintenance tips await your discovery.

A quick guide to identifying when your Mini Cooper requires servicing, from dashboard alerts to unusual noises—discover what these signs mean.

This light signals a crucial warning about your Mini Cooper's brakes, uncover what it means and how to respond...

Identify the hidden gateway to your Mini Cooper's secrets by locating the elusive OBD port; uncover how and where with our guide.