To guarantee the door panel on your Mini Cooper, start by gathering the necessary tools: a door trim removal tool, both flathead and Phillips screwdrivers, a T30 torx socket, push pins, and electrical connectors. Begin by using the door trim tool to extract push pins and remove the mirror switch gently. Access and unscrew the torx screws with your T30 torx socket, then manually disconnect the electrical connectors. Carefully extract trim pieces, disconnecting any additional electrical connectors you encounter. Make sure all torx bolts are unscrewed, and meticulously detach the door panel, taking care to disconnect all remaining electrical connections with patience to avoid damage. Mastering these steps will equip you to handle the task ahead with confidence.
Gathering Necessary Tools
Before you begin the task of removing the door panel from your Mini Cooper, you'll need to gather a few essential tools, including a door trim removal tool, screwdrivers, and a T30 torx socket. The importance and quality of these tools can't be overstated. When dealing with door panels, the risk of damaging delicate trim pieces or losing small fasteners is significant. A door trim removal tool is specifically designed to safely pry off the panel without scratching the paint or snapping the plastic.
Screwdrivers, both flathead and Phillips, are indispensable for loosening screws that secure the panel and various trim pieces. However, the T30 torx socket is vital for the bolts that are often tighter and require more torque to remove. These bolts are integral to the door panel's structure, helping to hold it firmly in place.
Additionally, you'll encounter push pins and electrical connectors that secure the panel and link it to the car's electrical system. Having needle-nose pliers can be beneficial for removing push pins without damaging them or the panel. A gentle but firm hand is needed to disconnect the electrical connectors without harming the wiring. Thorough preparation with the right tools ensures a smooth and damage-free removal process.
Removing Push Pins and Switch
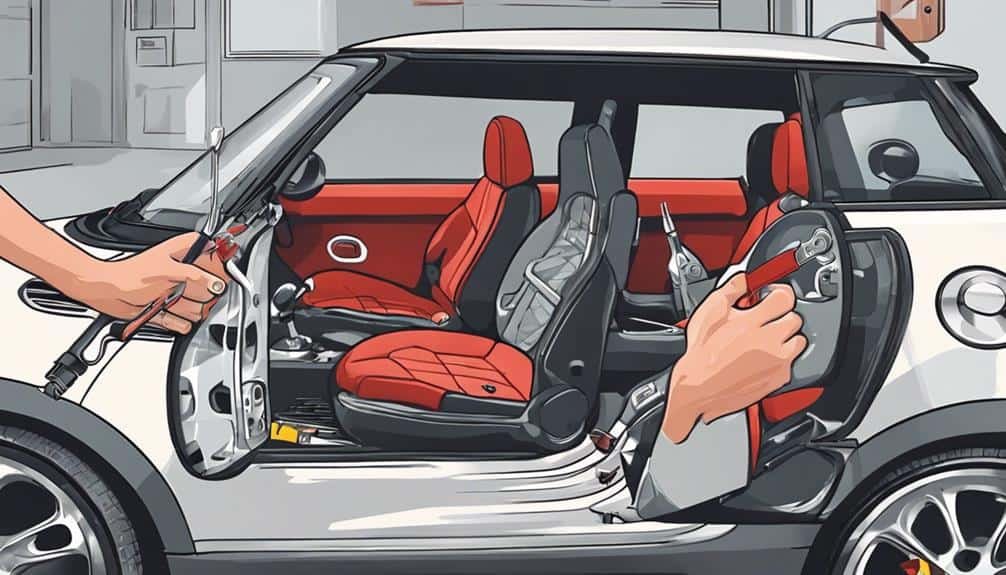
Having gathered the necessary tools, you'll start by using the door trim removal tool to extract push pins along the outer edge of the door panel. This step requires you to carefully apply some pressure to avoid damaging the door or the trim itself. Once the push pins are out, you'll next focus on the mirror switch. Gently pop out the mirror switch, making sure not to use excessive force. After the switch is accessible, disconnect the electrical connectors to remove it completely. This is an important step for door panel removal as it prevents any electrical damage or complications.
Here's a quick reference table for the steps and tools involved:
| Step | Tool Needed | Notes |
|---|---|---|
| Extract Push Pins | Door Trim Tool | Apply some pressure carefully. |
| Remove Mirror Switch | None (Manual) | Disconnect the electrical. |
| Access Torx Screws | T30 Torx Socket | For bolts securing the panel. |
| Disconnect Electrical | Hand (No tool) | Before full door panel removal. |
| Final Inspection | None (Visual Check) | Make sure no damage or missed steps |
Extracting Trim Pieces
Once you've disconnected the mirror switch and removed push pins, it's time to focus on extracting trim pieces around the speaker and the door's exterior to reveal concealed screws. Using a door trim removal tool, carefully pry off the trim pieces. This step requires importance to avoid damaging the trim or the door panel. As you work, you'll uncover the electrical connectors that are attached to the speaker and other components. It's essential to disconnect these connectors gently to prevent any damage to the wiring.
Next, identify and remove any plugs that are obscuring the bolt holes. These plugs are typically designed to blend with the door panel, making them somewhat tricky to spot. Raising the window will give you better access to the bolts that need to be removed. A T30 torx socket is the right tool for this job, allowing you to unscrew the bolts efficiently. Each bolt you remove gets you one step closer to freeing the door panel from its position. Remember, the goal is to expose all hidden screws and bolt holes without causing harm to the door's components or the trim pieces themselves. This careful preparation sets the stage for the subsequent detachment of the door panel.
Detaching the Door Panel
With all trim pieces removed and bolts unscrewed, you're now ready to detach the door panel from your Mini Cooper. Begin this process by using a door trim removal tool. Carefully insert it along the outer edge of the door panel to detach the push pins that secure the panel to the door frame. This step requires a bit of finesse to avoid damaging the panel or the clips.
Next, you'll need to address the mirror switch. Pop it out gently and disconnect the electrical connectors. This action is important for freeing the door panel without causing damage to the wiring or the switch itself.
Now, turn your attention to the torx bolts. With the window raised, you'll have clear access to the bolts that need to be removed. Use a T30 torx socket to unscrew these bolts. They're located around the perimeter of the door panel and also secure the arm rest. This step is essential for loosening the door panel without bending or breaking it.
Lastly, make sure to carefully disconnect any remaining electrical connectors. These may be connected to the door lock mechanism or other components mounted on the panel. Remember, precision and patience are key to avoiding damage during this part of the process.
Handling Electrical Connections
To properly manage the electrical connections during the removal of your Mini Cooper door panel, start by pushing or sliding the release levers to disengage and disconnect the electrical connectors. This is a critical step to guarantee the safety and integrity of your vehicle's electrical system.
Here are key points to focus on:
- Disconnect all electrical connectors: Make sure to identify and carefully disconnect each connector by using the release levers. This may require a gentle press or slide to release them.
- Remove the armrest: Pull off the armrest, which is held by clips within the door panel. This step often reveals hidden connectors.
- Detach Torx bolts: Locate and remove Torx bolts around the perimeter of the Inner Door Panel. This is essential for accessing and disconnecting remaining electrical components.
- Carefully remove weatherstripping: This exposes more bolts and components. Be meticulous to avoid damaging the stripping, as it's vital for reinstalling the door panel properly.
When it's time to reinstall the door panel, feed cables and connectors through the designated slots and make sure everything is securely connected. Use a flat blade if necessary to gently press connectors back into place, ensuring a snug and correct fit to maintain functionality.
Conclusion
Now that you've danced through the delicate steps of removing your Mini Cooper's door panel, from gathering the right tools to disconnecting the last of the electrical lifelines, you're poised on the brink of victory.
Each clip released and screw turned has been a step closer to your goal. With the panel finally free, you're not just a car owner; you're a maestro conducting an orchestra of parts.
Remember, reassembly is just this process in reverse—precision and patience are your best tools.
